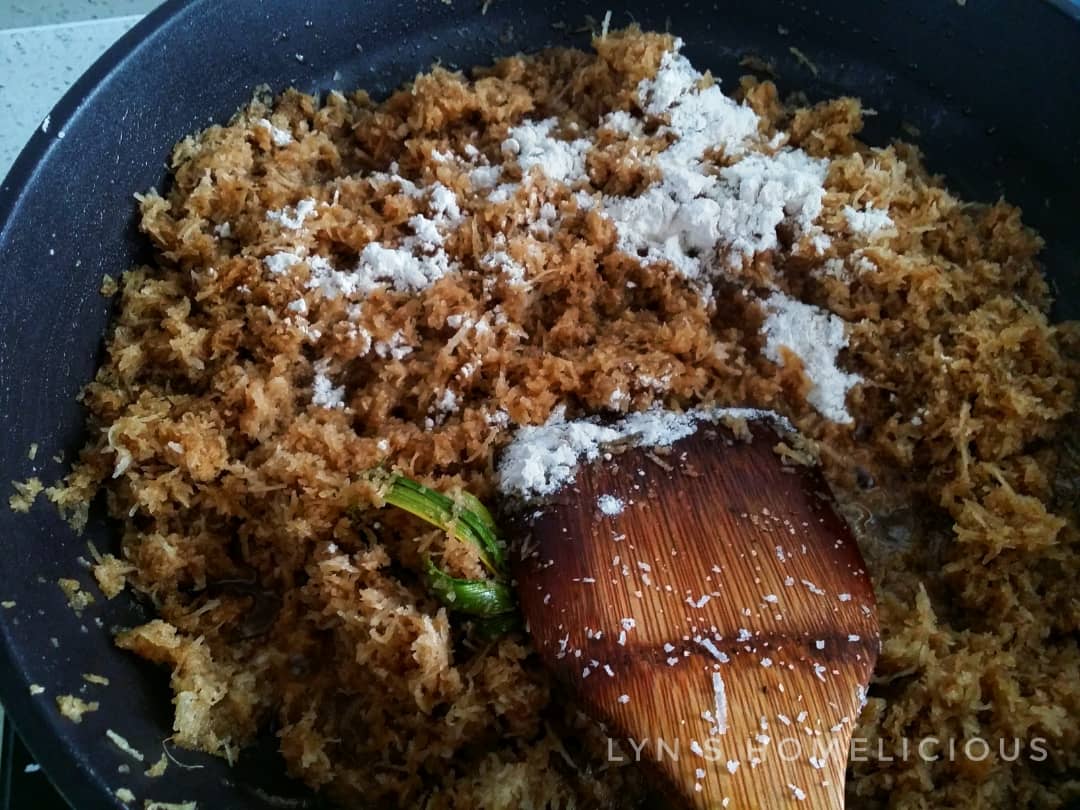
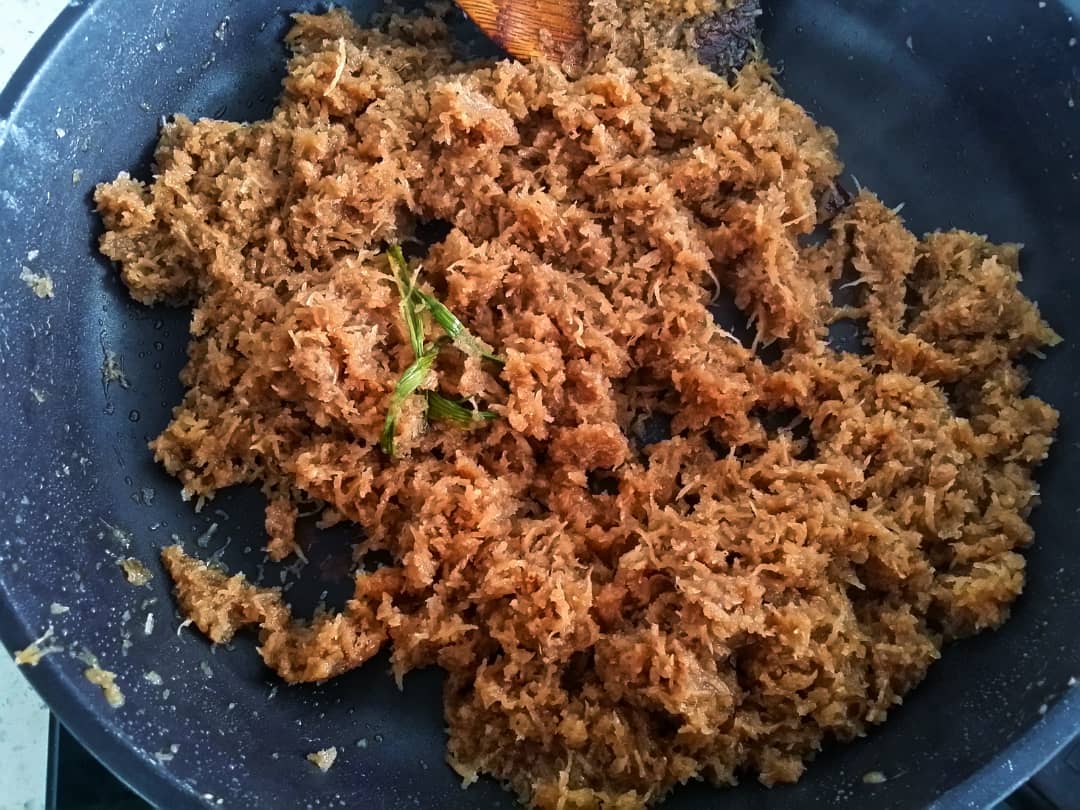
Jem Homemade

Showing posts with label Jem Homemade. Show all posts

Friday, 29 November 2019

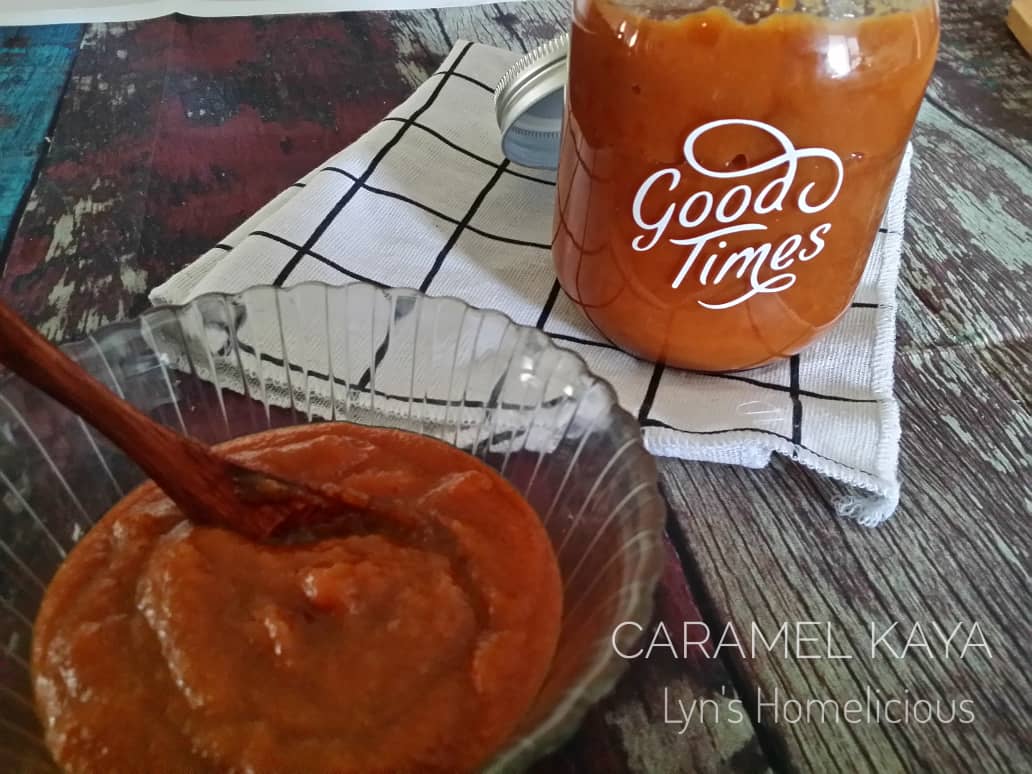
Caramel Kaya (Malaysian Coconut Egg Jam)


When I was still living with my mum, I used to help her to make kaya for the filling of kaya bun.
My brother was running a small bakery at that time, so, kaya bun is one of his regular product.
Our home made kaya is made of Gula Melaka or palm sugar, coconut cream, white sugar, salt, pandan leaves for pleasant aroma and of course, eggs.
Corn flour is added to thicken the kaya.

After I was married, I'd never made kaya.
But, there is one store bought kaya that I especially like.
It's called Auntie Rosie's kaya, a product of Gardenia.
The kaya is rich in flavors, and there is one particular taste that I really like in their kaya - that is the aromatic, deep flavor of caramel.


I am planning to make cakoi, or Chinese fried churros for our breakfast tomorrow, to be eaten with my home made kaya that I made today.
It was first trial, and thankfully it turned out well.
The taste is exactly the same with Auntie Rosie's.
Here is the secret...add more caramel in your kaya, then you'll get a dark browned, luscious kaya.

Kaya is not only a favorite spread for our morning kaya toast, it is a versatile coconut egg jam to add flavor in our bun, steamed bun, pan cake, crepe and much more.
If your kaya is too thick, you can add hot water, whisk and heat it while stirring continuously until you get your desired thickness.

After this I will definitely make my own kaya.
My Hubby is very enthusiastic to prepare roti telur ( sliced bread dip in egg mixture and fry with little oil or butter) to be eaten with my home made kaya.😂😂
I didn't espect that he like it very much because my Hubby is not a fan of sweet-based spreads, not even the famous Nutella spread!
Last time, whenever I bought an Auntie Rosie's kaya, I was the one who had to finished it all.
No matter how many weeks it sat in my fridge, my Hubby did not bother to touch it because store-bought kaya tends to be too sweet for his sensitive teeth.
My version is not too sweet and I cooked my kaya a little bit longer, to get a thicker consistency, so that the kaya won't cause my bread to be soggy when I spread on it.

To prepare the kaya, first you need to prepare the caramel first.
Preparing caramel can be challenging.
We don't want a burned caramel, it's the deep amber color that we are looking for our caramel, so it is important to control the heat when making caramel.
There are tips in making successful caramel available. 
From a few blogs which I stumbled upon, some of the bloggers prepare the caramel without adding the hot water, which means once the sugar turned the deep amber color, you need to straight away add the hot caramel into the thicken kaya mixture.
If you prefer to make your kaya by using this method, you have to cook the kaya mixture first and when the kaya mixture starts to thicken, prepare the caramel.
But for me, I used to make wet caramel - a caramel that requires addition of hot water when prepared for my steamed fruit cake and honeycomb cake (kek gula hangus).
Basically the method of making caramel is when a lot of smooth foams appear on the surface and the dissolved sugar has turned to deep amber color, turn off the heat and immediately pour in hot water and stir quickly to prevent the caramel from crystallize.

Without wasting anymore time, here it is...

My homemade caramel kaya recipe that I'm very excited to blog about it.
If you're a fan of kaya, it is worth to make it on your own.
Happy cooking! 😄😄


CARAMEL KAYA
(MALAYSIAN COCONUT EGG JAM)


Yield : approximately 500 grams.


Ingredients:

3 large eggs
1/2 cup of sugar
1/2 teaspoon of salt
200 ml of coconut cream (I used KARA)
3 pandan leaves - knotted
2 tablespoons of corn flour - add with 1/4 cup of water

For Caramel :

1 cup of sugar
1 cup of hot water


Instructions:

  1. Prepare the caramel first.  In a clean wok, pour in sugar and cook under medium heat. Constantly watch the process and do not leave the stove unattended as the sugar can quickly burned.  Usually pan does not distribute heat equally, so you may notice that sugar at the bottom and the edges brown first.  Use a heat proof spatula  or whisk to push the liquefied sugar away from high heat region on your pan so it won't burnt.  When it is gently foaming, turn off the heat and immediately pour in hot water.  Stir continuously to mix the caramel with hot water.  Set aside and let the caramel cool.
  2. In a  bowl, cracks in eggs, add in sugar and salt.  Whisk until the sugar dissolved.
  3. Pour in coconut milk and corn flour mixture.  Stir to combine.
  4. Pour in the egg batter into the wok containing the caramel.  Add in pandan leaves.
  5. Cook under medium heat, stir continuously until the kaya is thicken, about 40 minutes.
  6. Kaya is ready to be used and once it is cooled, store in a jar and keep it refrigerated.

Step -by-step to prepare the caramel

The making of caramel kaya


#NOTE#

Kaya can last up to 1.5 months if stored in the refrigerator.


MALAY VERSION


RESEPI KAYA KARAMEL


Menghasilkan : lebih kurang 500 gram kaya


Bahan-bahan:

3 biji telur Gred A
1/2 cawan gula pasir
1/2 sudu teh garam
200 ml krim santan - saya pakai KARA
3 helai daun pandan - simpul
2 sudu besar tepung jagung - bancuh dengan 1/4 cawan air

Untuk Karamel:

1 cawan gula pasir
1 cawan air panas


Langkah Penyediaan:

  1. Mula-mula kena sediakan karamel dahulu.  Tuang secawan gula ke dalam kuali (boleh gunakan kuali anti lekat), dan masak sambil kacau menggunakan whisk atau senduk kayu sekali sekala menggunakan api sederhana sehingga gula larut dan bertukar warna coklat keemasan dan timbul buih-buih kecil di permukaan.  Padamkan api dan tuang air panas dan kacau rata.  Biarkan karamel sejuk.
  2. Sementara itu, pecahkan telur ke dalam mangkuk, masukkan gula pasir dan garam.  Kacau rata menggunakan whisk.
  3. Masukkan krim santan dan air bancuhan tepung jagung.  Kacau rata.
  4. Tuang adunan telur ke dalam kuali yang mengandungi karamel yang telah sejuk dan masukkan daun pandan.
  5. Masak menggunakan api sederhana, sentiasa kacau sehingga kaya pekat (lebih kurang 40 minit).
  6. Sejukkan kaya dan kaya sedia dinikmati dan simpan kaya di dalam botol dan simpan di dalam peti sejuk.


#NOTA#

Kaya yang disimpan di dalam peti sejuk boleh tahan sehingga sebulan setengah.

Thursday, 29 August 2019

Inti Kelapa (Sweet Coconut Filling)


Inti kelapa or sweet coconut filling is inseparable with most of Malay kuih or cakes.
Kuih koci, made of glutinous flour mix with coconut milk for the skin, wrapped in banana leaves and steamed to cook, kuih onde-onde, also made of glutinous flour or mashed sweet potatoes for the skin, coated with white sesame and fried until golden brown and pau (steamed bun), a soft and fluffy bun-like dish made with a combination of pau or all purpose flour, yeast, water, sugar, oil and salt for the skin and steamed to cook are among Malay delicacies that use inti kelapa.

I still remember when my elder brother ran a small bakery, my mum used to make her homemade inti kelapa for making coconut buns.
I was just graduated and still yet to land a job at that time, so I was helping my mum to make inti kelapa.
From there, I learned how to make a delicious inti kelapa that is moist and the coconut filling not scattered when we eat the kuih or bun.
Inti kelapa manis or sweet coconut filling can be found in two versions - the dark brown and white colored.
Dark browned inti kelapa is the one that use palm sugar (gula Melaka) as sweetener while the light colored one is made of white sugar.

I'll make inti kelapa particularly when our family is having kenduri or thanksgiving ceremonies, to make kuih koci to serve the attending guests.
Inti kelapa can lasts for several weeks, when kept in the freezer after it was prepared.
But I personally prefer the freshly made inti kelapa for the filling of my kuih pau and kuih koci.
Inti kelapa is best when prepared with mature coconut, but not too young or old.
The coconut flesh is soft but tender, compared to old, mature coconut that we use to buy in the local market.
But it's pretty hard to obtain it, unless you grow your own coconut tree behind your house. 😆😆

Usually, I bought grated coconut that is already packed in plastic, weigh about 250 grams each and keep them frozen until I'm ready to use.
Grated coconut can lasts up to 2 months if we keep it frozen.

Pandan leaves when added during the cooking of inti kelapa lets the pleasant pandan aroma to permeate into it, adding more flavors.
The use of good quality of palm sugar, or gula Melaka may also play an important factor to produce a delicious sweet inti kelapa.
You may incorporate palm sugar with gula merah (brown sugar), to gets a darker colored inti kelapa.
Adding flour into inti kelapa will helps it to stick together, so it easier to handle and prevent it from scattered when we eat the kuih.

The inti kelapa recipe that I'm going to share today is not too sweet, it suites to our preference.
If you want your inti kelapa to be sweeter than this, feel free to add more sugar into it.


INTI KELAPA (SWEET COCONUT FILLING)


Ingredients:

250 grams of grated coconut
2 pandan leaves (knotted)
1/4 cup of brown sugar (gula merah)
1/3 cup of gula Melaka (palm sugar) -  crushed
a pinch of salt
1 1/2 cups of water
1 tablespoon of all purpose flour


Methods:


In a pan, mix palm sugar, brown sugar, salt, water and pandan leaves.  Simmer over medium heat until the sugars dissolve.  Strain if necesary.


Add in grated coconut and mix to combine.


Lastly add in flour and cook until the water dry and the inti kelapa detach easily from spatula.
Let it cool completely before use.
Keep the leftover in a container and refrigerated or frozen until the next use.


Thursday, 13 June 2019

Resepi Inti Atau Jem Nenas Homemade Mudah


Assalamualaikum...

Hari ni Lyn buat jem nenas untuk inti tart nenas bagi menyiapkan tempahan open faced tart nenas untuk customer Lyn.
Biasanya Lyn akan buat tart nenas gulung dan jugak open faced untuk customers.
Jem nenas untuk tart nenas gulung biasanya Lyn akan buat pekat sikit inti jem nenas tu.
Maknanya Lyn akan masak sampai jem nenas pekat pakai api kecil supaya tak hangus dan kena kacau sentiasa.
Kalau tart nenas yang open faced , jem nenasnya Lyn buat basah sikit supaya senang nak sumbat kat lubang pada tart tu.
Customer Chinese Lyn ni kebanyakannya suka tart nenas yang open faced.
Dorang lebih suka rupa tart nenas yang nampak filling nenas kat atasnya.


Jem nenas yang Lyn buat ni menggunakan nenas moris muda, yang masih hijau lagi.
Jem nenas yang dibuat menggunakan nenas muda ni air tak banyak sangat dan of course rasa masamnya pun lebih.
Tapi disebabkan customer Lyn request nak jem nenas yang sweet and sourly, nenas muda la yang paling sesuai.
Lagipun kalau pakai nenas yang dah masak, kerja memarut nenas akan lebih sukar sebab isi nenas dah lembut, apatah lagi kalau pakai nenas yang terlebih masak tu.
Lagi susah nak parut.

Lyn takde pemarut untuk parut nenas ni, so Lyn pakai blender je.
Campur sikit air agak-agak blender tu boleh pusing dah okey la.
Tapi kalau anda suka jem nenas yang nampak urat-urat nenas tu sila guna pemarut yea.
Kalau pakai blender macam Lyn ni tekstur nenas akan jadi halus.
Takpe lah asalkan rasa sedap.

[UPDATED ON : 19/11/2020]:

Untuk mendapatkan resepi tart nenas open faced versi tanpa telur, boleh rujuk di blog post Lyn menerusi link ni:
https://thebutterybites.blogspot.com/2020/11/tart-nenas-tanpa-telur-jem-nenas-homemade.html

Untuk menonton video step-by-step tutorialnya beserta dengan cara membuat jem nenas ni, tonton video di bawah ni:


Okey, seperti yang kita sedia maklum, kebiasaannya kalau kita cari resepi jem atau inti nenas ni di Google, kebanyakan resepi jem nenas ni ada mencampurkan kulit kayu manis, sebahagiannya letak cengkih dan daun pandan untuk menambah keenakan rasa jem nenas homemade ni.
Tapi, Lyn pulak bila buat sendiri jem nenas ni, Lyn memang tak letak kulit kayu manis sebab kebanyakan customer Lyn kurang gemar inti nenas yang berbau rempah.
Sebaliknya, Lyn tambah sebiji jus perahan limau nipis sebagai penyedap rasa jem nenas homemade ni.
Inilah petua bonda Lyn kalau nak buat jem nenas ni.
Dengan perahan jus limau nipis ni nescaya jem nenas homemade anda akan lebih sedap.
Hehe...

Apakata kita semak resepi dan cara menyediakan jem nenas homemade yang mudah ni.

Inti Atau Jem Nenas Homemade Mudah

Kategori Masakan: Jem
Masa Penyediaan : 1 jam 30 minit
Menghasilkan : 600 gram jem nenas


2 biji nenas moris muda saiz besar
1 1/2 cawan gula pasir
1/4 sudu teh garam
air secukupnya untuk blender nenas
1 biji limau nipis
1 penutup pewarna kuning


Kupas nenas dan buang mata dan empulur nenas.
Potong kecil dan masukkan ke dalam pengisar.
Kisar nenas bersama air sehingga halus.
Masukkan nenas yang dah dikisar bersama gula, garam, pewarna kuning dan perahkan 1 biji limau nipis ke dalam kuali.
Masak sehingga jem nenas mencapai kepekatan yang dikehendaki menggunakan api sederhana.
Jem nenas yang sedang dimasak perlu sentiasa dikacau supaya tak hangus.


Jem nenas yang terhasil dari dua biji nenas moris saiz besar ni tak banyak.
Dalam 600 gram je.
So, kalau nak buat banyak tu kena lebihkan nenas ni.
Penggunaan gula boleh disesuaikan dengan tahap kemanisan yang dikehendaki.
Gula perlu dimasukkan awal untuk menghasilkan warna jem yang lebih gelap disamping penambahan pewarna kuning yang dimasukkan.
Bila masukkan gula awal, gula sempat untuk caramelized, cuma kena sabar sikitlah dengan jem nenas yang agak meletus-letus sewaktu sedang dimasak tu.

Lepas ni bagi peminat tart nenas dan ingin mencuba menyediakan sendiri jem nenas, boleh la cuba resepi jem nenas home made yang mudah ni.

Akhir kata...

Selamat Mencuba!